Getting Gallium Iodide Lamps Right
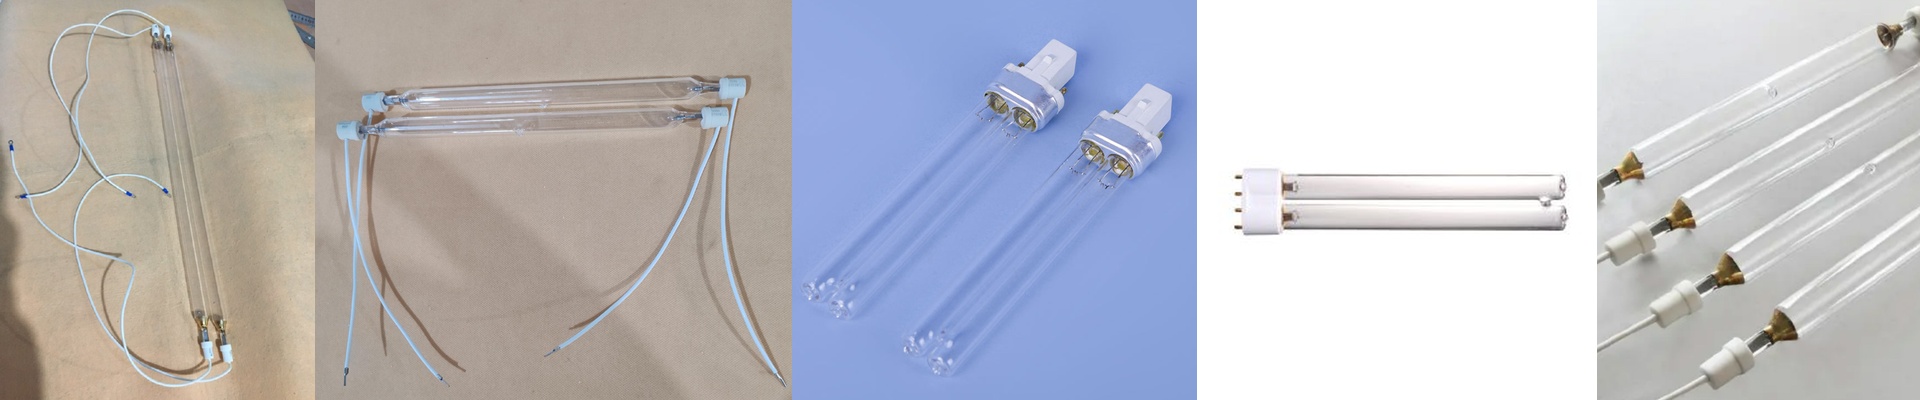
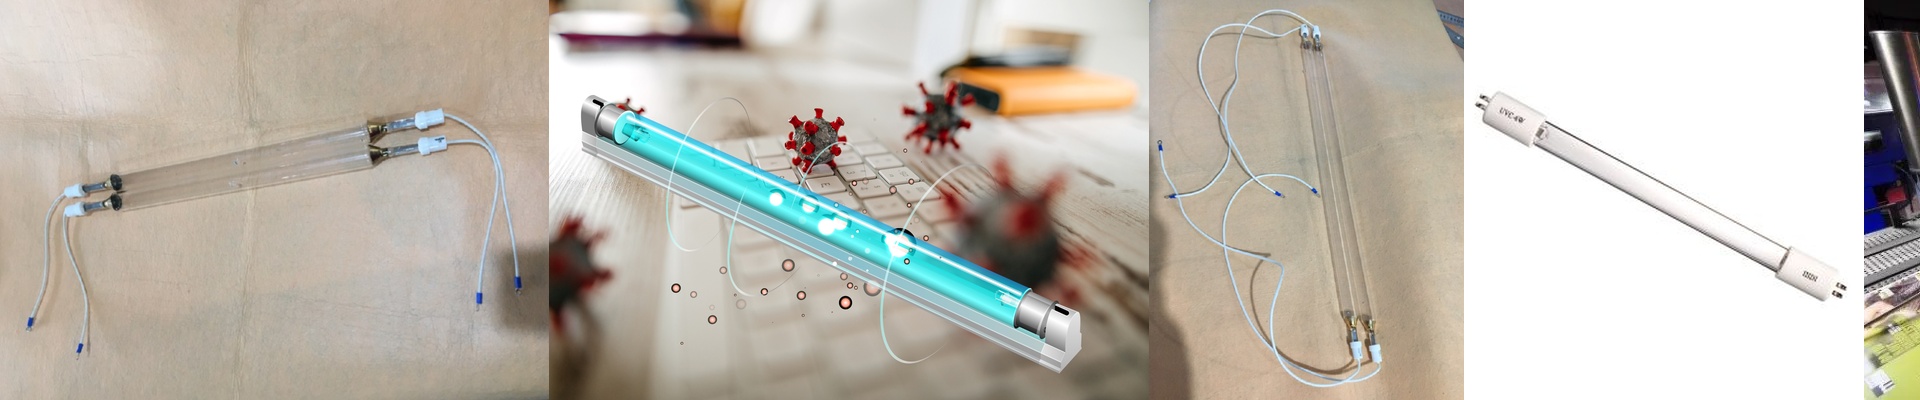
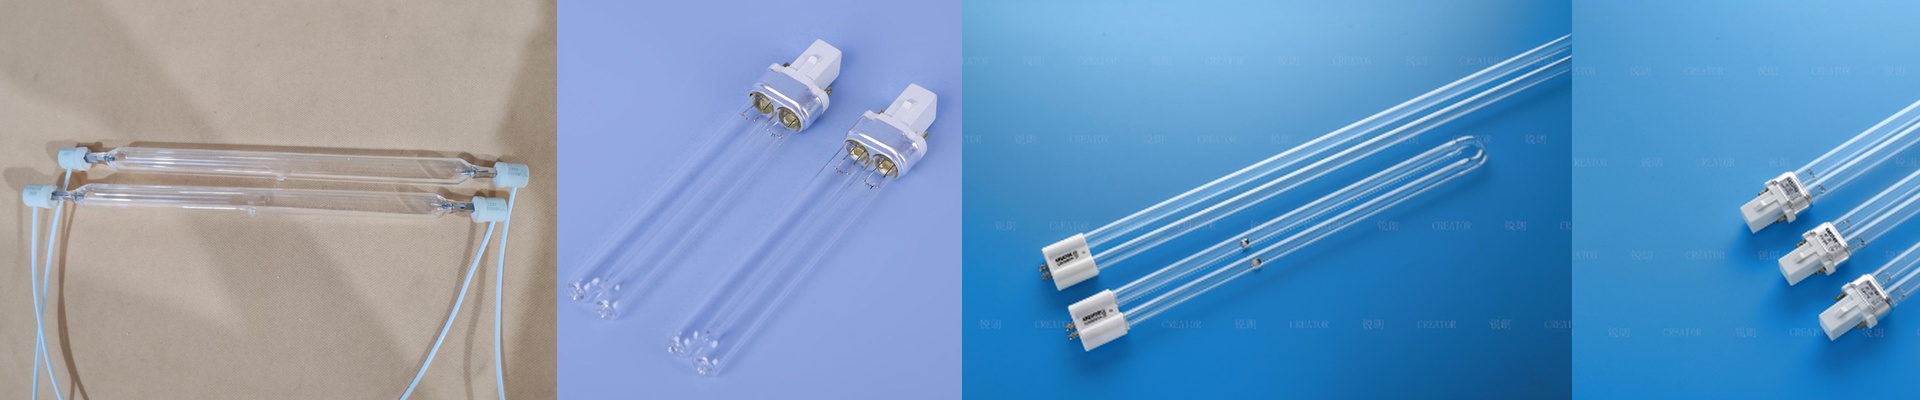
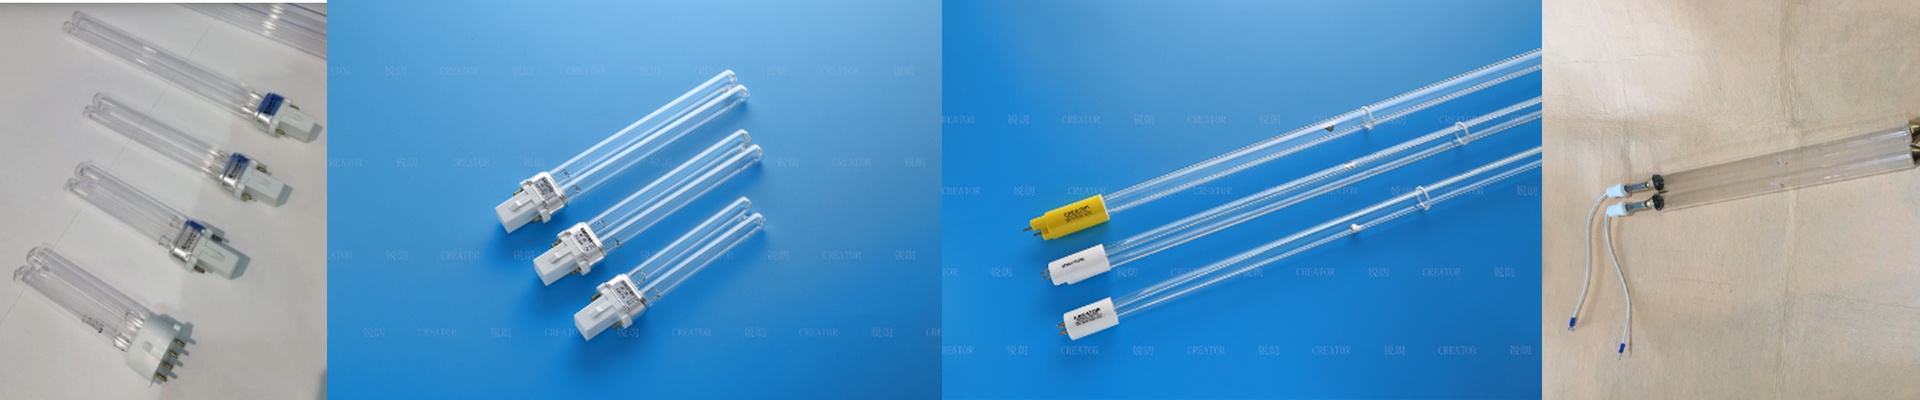
If you’re working with photochemical reactions or high-energy curing, you know that “close enough” doesn’t cut it. You need a very specific hit of UV and IR light to get the job done. That’s where our gallium iodide lamps come in. It all starts with the chemistry. We spend a lot of time obsessing over the gallium-to-iodine ratio and the internal pressure. Why? Because even a tiny slip-up in the gas fill can shift the emission peak. If that happens, your curing times go out the window and your chemical yield drops. It’s a finicky process. To keep things clear, we use high-purity fused quartz. It stops the lamp from clouding over or “solarizing” when the UV intensity kicks in. Then there’s the heat. When you’re picking your voltage and wattage, you’re basically deciding how much heat you can handle. More wattage means more photons, but it also puts a massive amount of stress on the electrodes. To stop the seals from popping during those heat cycles, we use reinforced end-caps. One quick tip: make sure your ballast actually matches the lamp’s impedance. If you push too much voltage, you’ll fry the electrodes. Too little, and the arc won’t stay steady. You’ll get flickering, and your output will be all over the place. How we keep costs down. We decided to handle everything ourselves. We source the raw halides and do the vacuum sealing in-house. By cutting out the middlemen who sell gallium salts, we can keep the price wholesale without using cheap quartz or impure gas. But here’s the real secret to a lamp that lasts: the vacuum seal. A single micro-leak will kill a gallium iodide lamp in a matter of hours. That’s why we leak-test every single unit before it leaves the shop. Just a heads-up: these things runhot. Seriously hot. Make sure your housing has a solid heat sink or active cooling, or you’re risking a cracked quartz envelope from thermal shock.